RC cars are popular model vehicles that provide thrilling stunts and racing action, but taking them to the next level requires a well-built ramp. Constructing your own custom ramp enables bigger air, expanded possibilities for jumps and tricks, and greater enjoyment of your hobby. This DIY guide will walk through designing, building, and testing a sturdy yet versatile ramp for RC cars using basic tools and common materials. Follow along to create a launching platform that matches your space and budget. The sense of accomplishment from completing this do-it-yourself project will add extra satisfaction as you use the hand-crafted ramp to catch big air and pull off rad tricks with your RC car.
1. Why you need a ramp for RC car
A ramp is an important accessory to have for RC cars. Ramps allow you to perform jumps and stunts that are not possible on flat ground. Going off ramps gives an exciting thrill as RC cars catch big air. Ramps are also useful for accessing higher elevations and simulating off-road terrain. Having a good ramp helps you get the most enjoyment out of driving your RC car. Ramps enable more play possibilities and add a dimension of creativity to RC racing and bashing. Building your own custom ramp also provides the satisfaction of creating something with your own hands.

2. Gather Materials
Wood boards
The foundation of the ramp will be constructed from wood boards. Plywood, lumber, or other wood materials can be used. Consider the thickness, weight, cost, and availability of different wood types. Thicker wood will be more sturdy and durable for withstanding repetitive landings. Using exterior or marine-grade wood will allow the ramp to better handle outdoor weathering. Gather enough wood boards to build the size of ramp you have designed. Cut wood boards may be available at hardware stores, or raw lumber can be purchased and cut to custom lengths.
Screws and other fasteners
Proper fasteners are important for joining the wood boards securely together. Deck screws work well for assembling wood ramps because they have thick threads to grip the wood tightly. The length of the screws will depend on the thickness of the wood being used. In addition to screws, you may want to use nuts and bolts, metal brackets, and wood glue to reinforce the joints. Having a variety of fasteners on hand will allow you to ensure the ramp is sturdily constructed.
Paint or coating
Applying some type of coating to the completed wood ramp provides both decoration and protection. Spray paint is an easy way to add color and personalize the look of your ramp. Multiple coats of exterior house paint will give good weather protection. Clear wood finishes like polyurethane will retain the natural wood look while sealing and waterproofing the surface. Skateboard ramps are often coated in grip tape to provide additional traction. Consider options like textured coatings or non-slip paint to help the cars grip while driving on the ramp.

3. Design the Ramp
Determine ramp height and length
One of the first considerations when designing your RC car ramp is determining the appropriate height and length. The height of the ramp will dictate how much airtime the car will achieve off the jump. Start with a lower ramp height of a few inches to a foot high while testing. The length of the ramp should be long enough for the car to smoothly transition up and down the slope. Make the ramp at least several feet long to allow for a gradual incline. Consider the speed your RC cars will be traveling and their suspension travel limits when deciding on ramp dimensions. Plan the ramp size based on your current cars, but leave room to expand it higher or longer as your skills improve.
Design ramp shape
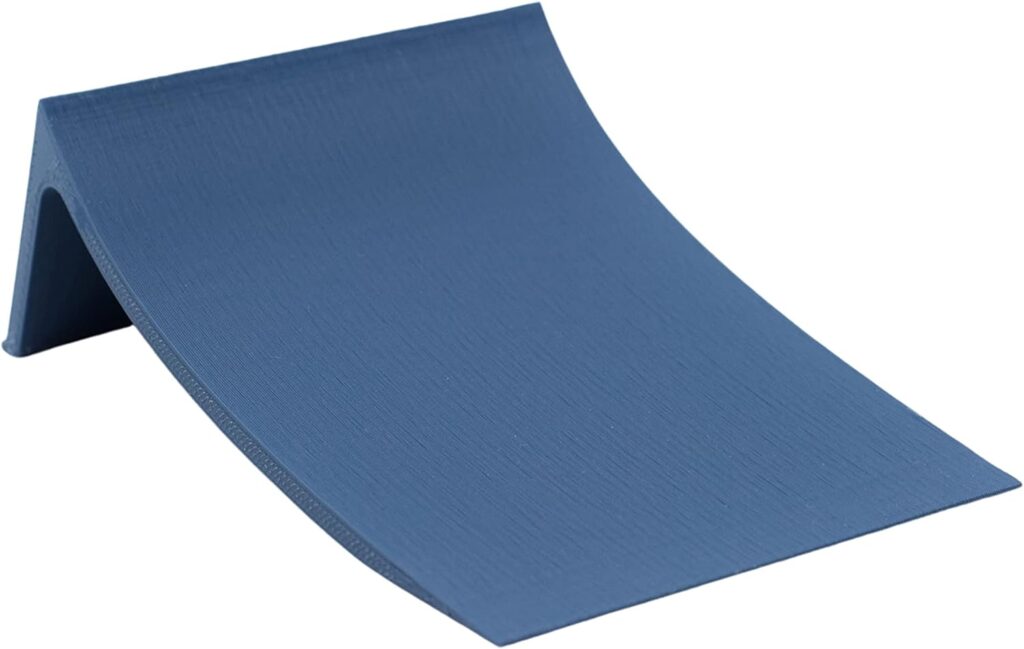
Ramps can be built as simple straight inclines, but curved and S-shaped ramps are also common. The shape of the ramp can be customized for different jumping effects. A straight ramp is the simplest to build and will launch the car straight into the air. Curved ramps can be used to jump the car at an angle or even do a complete loop. S-curves allow the car to turn during the jump for unique aerial stunts. Think about the trajectories you want for your RC car when airborne and design the appropriate ramp shape. Templates can be drawn on paper first to visualize the ramp plan before cutting any wood. Consider the grade of the incline and space needed when laying out the ramp curves.
4. Build the Ramp
Cut the wood boards
Once the ramp design is completed, it’s time to start construction. Measure and mark the wood boards according to the required dimensions. A circular saw or jigsaw can be used to cut the wood to size. Wear proper eye and ear protection when using power saws. Take care to make straight and smooth cuts. If making a curved ramp, cut incremental straight segments that can be assembled into curves. Pre-drill holes where joints align to prevent wood from splitting. Use scrap wood for testing angles and fits before cutting good boards. Take time to make precise cuts – it will pay off in tighter construction.
Assemble and secure the boards
Arrange the cut wood pieces together to form the ramp structure. Place the boards in order and alignment according to the build plan. Stand or weight the ramp elements in place while attaching them. Use the screws and fasteners chosen previously to connect the joints and create sound bonds. Drill pilot holes for screws to reduce wood splitting. Check that contact points between boards sit flush with no gaps. Construct supporting braces underneath for a sturdy base. Work methodically and take time to drill and securely tighten all fasteners. Double check the alignment as you assemble.
Apply coating
After completing assembly, the ramp is ready for a protective and cosmetic coating. Lightly sand any rough wood edges and vacuum away dust. Apply painter’s tape around ramp edges for clean coating lines. Use a paintbrush and roller or handheld sprayer to apply your choice of paint, varnish, clear coat, grip tape, etc. Follow the product instructions for proper application and drying time. Use thin and even brush strokes or spray passes for the smoothest finish. Apply multiple coats to build up protection and durability. Remove the tape after the final coat is dry. Your customized ramp design is now ready for RC car action!
5. Test the Ramp

Initial testing and adjustments
Before turning your RC cars loose on the completed ramp, do some initial tests to confirm functionality and make any needed tweaks. Carefully run your hand along the ramp surface to feel for smoothness and check for protruding screws or sharp edges. Give the ramp structure a gentle shake to verify sturdiness and stability. Use a car with softer suspension or place cardboard under the wheels for the first test runs. Drive a car slowly up and down the ramp to check for trouble spots or wobbling. The car should roll smoothly without bumpiness or vibration. If issues are found, double check the ramp construction and make reinforcements as needed.
Final check and maintenance
Once any adjustments are made, do a final inspection and test with your RC cars at full speed. The cars should handle jumps off the ramp cleanly and land securely. Listen for any cracking noises which would indicate weak structure. Observe that the ramp stays firmly in place without shifting. Check for any material cracks or damage after repeated use. Perform periodic maintenance by tightening any loose hardware and checking for wear. Reapply protective coatings whenever they begin wearing away. Keep dust and dirt cleared away so cars don’t slip. By keeping your ramp in good shape, you’ll continue enjoying endless jumping excitement!
Final Thoughts
Building your own RC car ramp is a rewarding do-it-yourself project that unlocks more excitement from your hobby. With proper planning, material selection, and a methodical construction process, you can create a customized ramp tailored to your space and cars. Initial testing and adjustments will refine the ramp before unleashing your RC vehicles to catch air and impress spectators. The ramp will provide hours of enjoyment now, and leave room to expand its size and capabilities over time as your skills improve. Each time you admire your car soaring through the air after speeding up the hand-built ramp, you can feel a sense of satisfaction and accomplishment. So gather your tools, design a ramp plan, and let’s get building – your RC cars will be jumping for joy in no time.
Enjoyed this guide of how to build a ramp for RC cars? Then be sure to check out our other RC Rating guides.