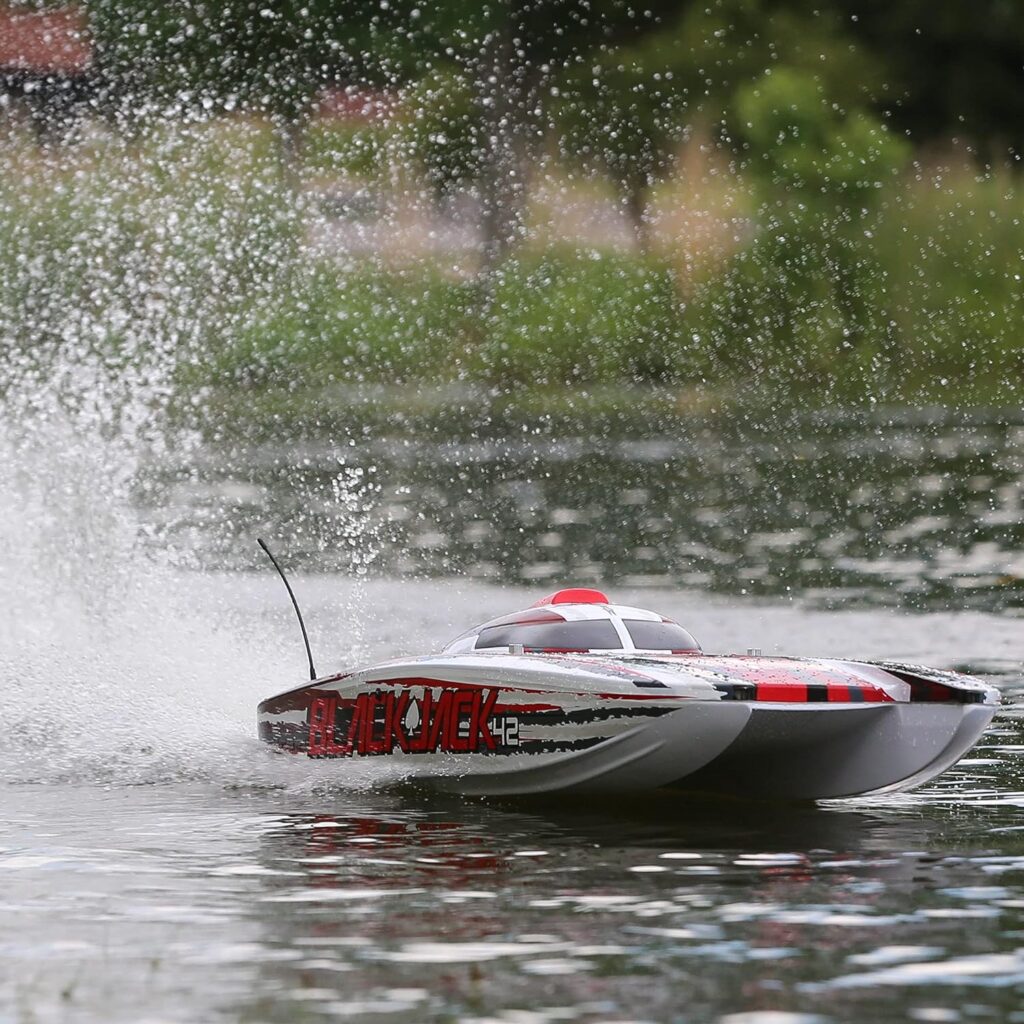
Remote control (RC) boats are a fun hobby for all ages. An RC boat is a model boat that is controlled from a handheld radio transmitter. The transmitter communicates with a receiver onboard the boat, allowing you to control the direction and speed of the boat. Building your own RC boat from scratch can be an enjoyable and rewarding project. This DIY guide covers constructing a small electric-powered speedboat using plywood, installing the motor, ESC, battery, and radio components, waterproofing techniques, remote control setup, testing and troubleshooting.
Materials Needed To Build An RC Boat
1. Hull
The hull is the main body of the RC boat. For our build, we’ll be using 1/4 inch plywood to construct the hull. Plywood is lightweight but strong – important qualities for an RC boat hull. We’ll cut out the main hull pieces from the plywood using a jigsaw. The hull design we are using is a shallow V-shape which will provide stability and some speed.
2. Motor
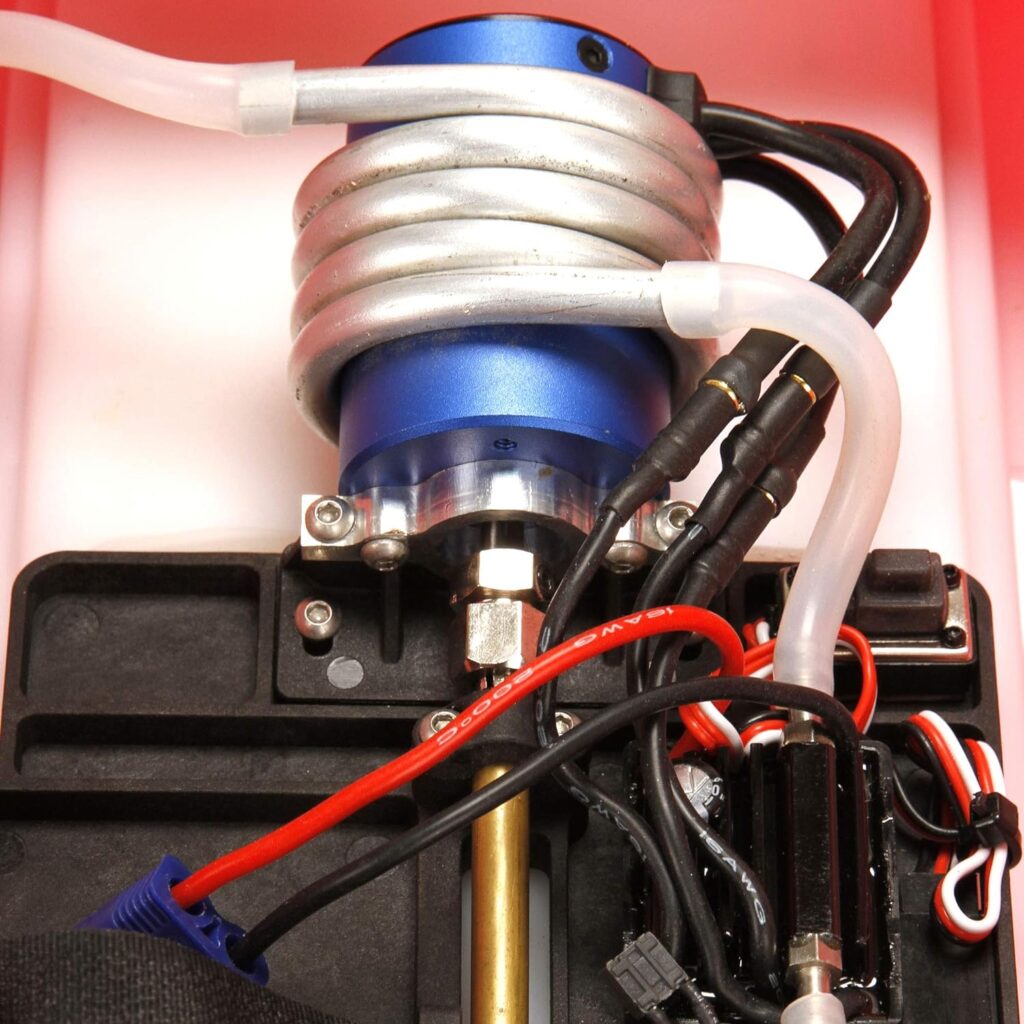
For the motor, we’ll use a small brushed electric RC motor. Brushed motors are inexpensive and provide good low-end torque to push through water. A motor in the 15-20W power range will be ideal. It will give enough power without overloading our small hull. The motor mounts inside the hull towards the back. Make sure to pick a waterproof motor.
3. ESC
The electronic speed control (ESC) regulates power from the battery to the motor. We’ll need a 15A+ ESC to match the motor. The ESC allows forward/reverse control and varies motor speed. It connects between the motor and receiver. An on/off switch can also be wired through the ESC.
4. Propeller
A suitable propeller helps transfer the motor’s power into thrust. We want a propeller with a low pitch and smaller diameter – 2-3 inches should work. Nylon and plastic props are flexible and safe for RC use. Match the prop size to the motor for best performance.
5. Radio Transmitter and Receiver
The radio system is what gives you remote control of the boat. A transmitter and receiver pair work in tandem – the transmitter sends signals which the receiver picks up. We’ll need a basic 4-channel radio system, with channels for steering, throttle, and forward/reverse controls.
6. Battery
A small 7.4V LiPo battery pack provides power onboard. Make sure the battery can deliver adequate current for the motor and ESC. The battery mounts securely inside the hull. 7.4V gives good speed from a small package.
7. Wires and Connectors
Hookup wire, bullet connectors, and servo connectors allow everything to connect properly. Make sure components use matching connectors. Use plenty of heat shrink tubing to protect connections.
8. On/Off Switch
An on/off switch on the hull lets you turn on the RC boat’s electrical system when ready to run. Wire it through the ESC. A watertight switch cover prevents issues.
9. Rudders and Steering
The rudder mounts on the stern and turns the boat left and right. A servo actuates the rudder based on transmitter steering signals. Linkages connect the servo to the rudder. Dual rudders provide maximum steering authority.
Building The Hull
1. Hull Design Options
There are many hull designs to choose from when building an RC boat. We’ll be using a shallow V-hull which provides good stability and speed potential. Other options like deep V-hulls, catamarans, or flat-bottom hulls have their own pros and cons. For a first RC boat, a shallow V is a good compromise.
2. Tools Needed
Building the plywood hull requires some basic tools:
- Jigsaw to cut out the hull panels
- Sandpaper to smooth and shape the hull
- Clamps to hold parts for gluing
- Carpenter’s wood glue to join all pieces
- Drill for making holes for components
- Safety gear like gloves and goggles
3. Cutting Out the Hull Parts
Using the hull plans, carefully cut out the main pieces from the plywood using a jigsaw. Cut along the inside edge of each line. Make relief cuts in corners to allow tighter turns. Sand all edges smooth. Test fit pieces together before final glue up.
4. Joining the Hull Parts
Gluing the hull requires care and precision. Have all pieces cut out and test fitted before starting. Apply carpenter’s wood glue to joining edges. Clamp pieces tightly together, checking alignment. Use painter’s tape as clamping cauls to distribute pressure. Allow glue to fully cure before removing clamps.
Once glue has cured, sand any rough spots. The basic hull shape is now complete. We’ll add details like the motor mount and rudder hardware later.
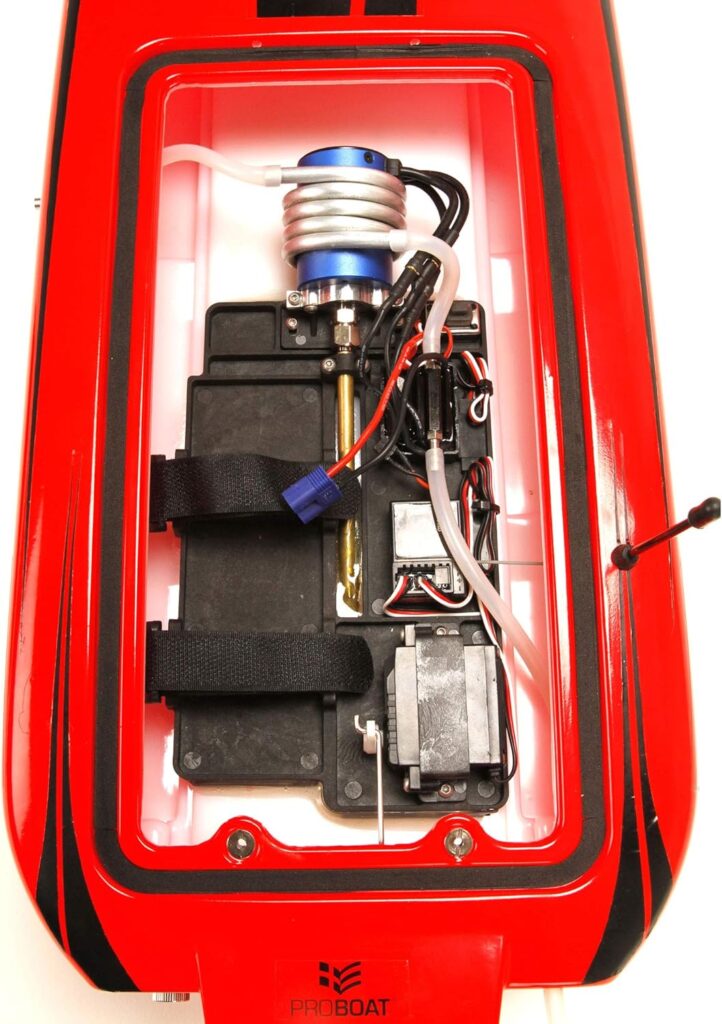
Installing the Components
1. Mounting the Motor
The motor needs a secure mount inside the hull. Cut a mount plate from plywood that aligns to the motor. Drill corresponding screw holes and use waterproof screws to attach the plate inside the hull. Screw the motor tightly down onto the mount plate.
2. Wiring up the ESC, Receiver and Battery
Follow the wiring diagram to connect the ESC, receiver, battery and motor. Pay close attention to polarity. Use bullet connectors to allow for disconnecting components. Heat shrink all connections to protect from water. Run wires neatly and secure with zip ties.
3. Attaching the Propeller
Slide the propeller onto the motor shaft and tighten with the prop nut. Make sure the prop nut is on securely – you don’t want the prop coming loose! For pusher props, insert a spacer between the prop and motor.
4. Installing the Rudder
The rudder mounts to the stern of the hull. Cut a rudder mount hole in the stern and glue in the mounts. Screw the servo horn to the rudder. Connect the steering linkages from the servo to the rudder horn. Make sure the rudder moves freely.
Controls and Transmitter
1. Binding the Receiver to Transmitter
Before using the radio system, the receiver and transmitter need to be electronically paired or bound. This allows them to communicate only with each other. Refer to your transmitter and receiver manuals for the proper binding procedure. Typically it involves putting the receiver into bind mode and pressing a button on the transmitter while powered on.
2. Testing the Controls
Once bound, test all controls – steering, throttle, and direction. Check that the servo and ESC are responding properly to the transmitter controls. If controls are reversed, change settings on the transmitter or component. Trim controls to neutral center points.
3. Trimming and Adjusting
Fine tune the linkages and trims to get smooth, properly ranged motion. Adjust the steering linkage so rudder movement is synchronized to the steering wheel. Set throttle trim so the motor is at neutral when controls are centered. Make small adjustments until controls operate just right.
Finishing Touches
1. Painting and Decoration
Now we can add some creative touches to personalize the boat. Paint the hull with colorful waterproof RC boat paint. Apply in light coats using spray paint or a brush. Add decals and designs using RC boat sticker sheets. Clear coat over paint and decals to seal and protect.
2. Waterproofing
Seal any holes and gaps in the hull to prevent water getting inside. Common problem areas include around hatches, rudder mounts, and wire penetrations. Marine epoxy or specialty RC boat sealants work well for waterproofing. Check for leaks by testing the sealed boat in water.
3. Checking All Connections
Before launching the finished boat, do a final check of all wiring connections and mechanical linkages. Look for loose connectors or gaps in sealing. Check that propeller and rudder are securely attached. Confirm the receiver and ESC are firmly mounted and wires secured. A detailed pre-run inspection prevents problems.
List of the Best RC Boats
IMAGE | PRODUCTS | RATING | |
 | |||
 | |||
 | |||
 | |||
 | |||
 | |||
 |
Frequently Asked Questions On How To Build An RC Boat
1. What type of hull is best for an RC boat?
For a first RC boat build, a shallow V-hull is often a good choice. Shallow V-hulls provide decent stability while still being fast. They handle well and are simpler to build than more complex hull designs. Fiberglass hulls are great but require molding. Plywood and composite materials like ABS plastic are easy DIY hull options.
2. What tools do I need to build an RC boat?
You’ll need some basic woodworking and hobby tools like a jigsaw, drill, sander, hobby knife, pliers, screwdrivers, clamps, wire cutters, and metric hex drivers. Useful extras include a dremel, heat gun, rotary tool, and soldering iron. Make sure to use appropriate safety gear like gloves and eye protection.
3. What is the best motor for an RC boat?
Small to mid-size brushed electric motors in the 15-25W power range are ideal for DIY RC boats. They provide enough speed and torque without overloading the hull. Choose a water cooled motor and make sure the kV rating matches your battery voltage. Outrunner brushless motors offer more power but require advanced ESC.
4. How do I waterproof my RC boat?
Use marine epoxy to seal the hull pieces during assembly. Coat screws holes and other penetrations. Seal around hatches, rudder mounts, and any openings. Choose waterproof components like sealed motors, ESCs and servos. Use heat shrink on all electrical connections. Test for leaks!
5. What battery works best in an RC boat?
7.4V LiPo batteries are popular choices, offering a good balance of voltage and capacity. Make sure your ESC can handle 2-3 LiPo cells. Hardcase LiPos hold up to crashes better. Choose a battery that can supply adequate current for your motor and components.
6. How do I control my RC boat?
You need a radio transmitter and receiver, commonly called a radio system. The transmitter has steering and throttle controls and sends signals to the receiver on the boat. 4+ channel radios allow control of steering, throttle, and reverse. They must be electronically bound to operate together.
7. What if my boat won’t steer properly?
Check the steering servo and linkages. Make sure servo responding properly to transmitter and has enough throw. Inspect rudder hinge and linkage for binding. Verify steering servo is mounted securely. Adjust steering trim on transmitter. Make sure batteries are charged. Replace defective components if needed.
8. Why does my boat run slow?
Check for a damaged propeller, debris in the motor, or waterlogged hull. Use a prop with the right pitch and diameter. Inspect motor mount and coupling for excess play. Check battery voltage and cell health. Ensure electrical connections are clean and solid. Try a higher kV motor if underpowered.
Final Thoughts
Find a suitable pond or body of water and place the boat in the water. Power it on and give the throttle a try – the boat should move obediently as you steer it around. Make note of any issues like listing, poor steering, or sluggish operation. Fine-tune trim settings and make adjustments as needed. Some tips for using your new boat – charge batteries fully between runs, rinse the boat with fresh water after use, check for loose parts and damaged propellers. Troubleshoot any problems methodically – check connections, try swapping parts, and inspect components. Building and operating your own RC boat is very rewarding. Enjoy running your creation and take satisfaction in a job well done!
Enjoyed this guide of How To Build An RC Boat? Then be sure to check out our other RC Rating guides.