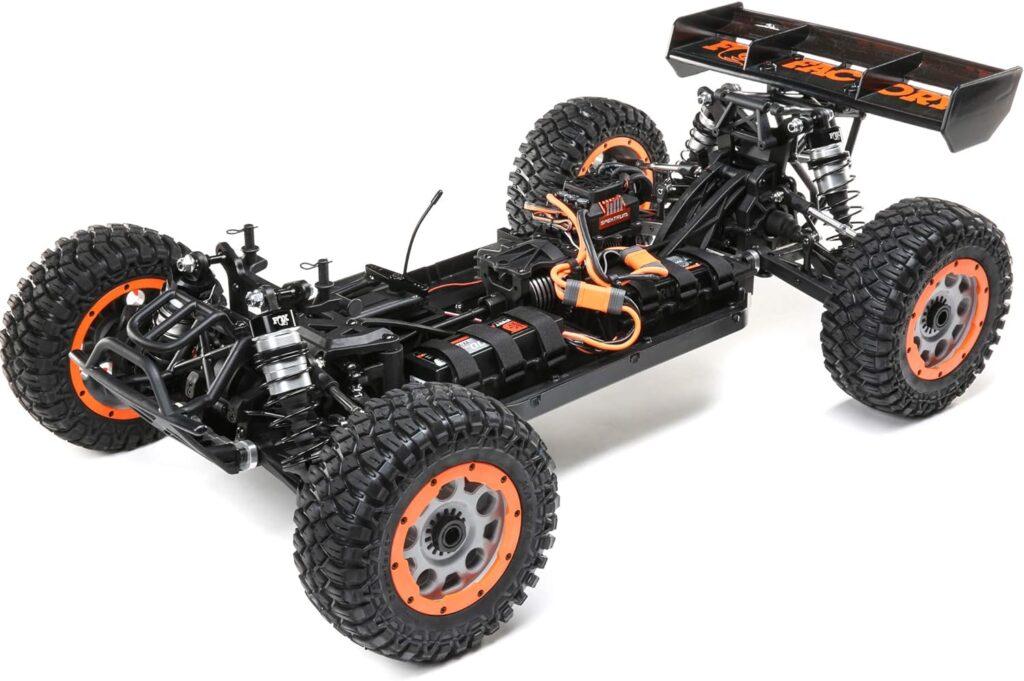
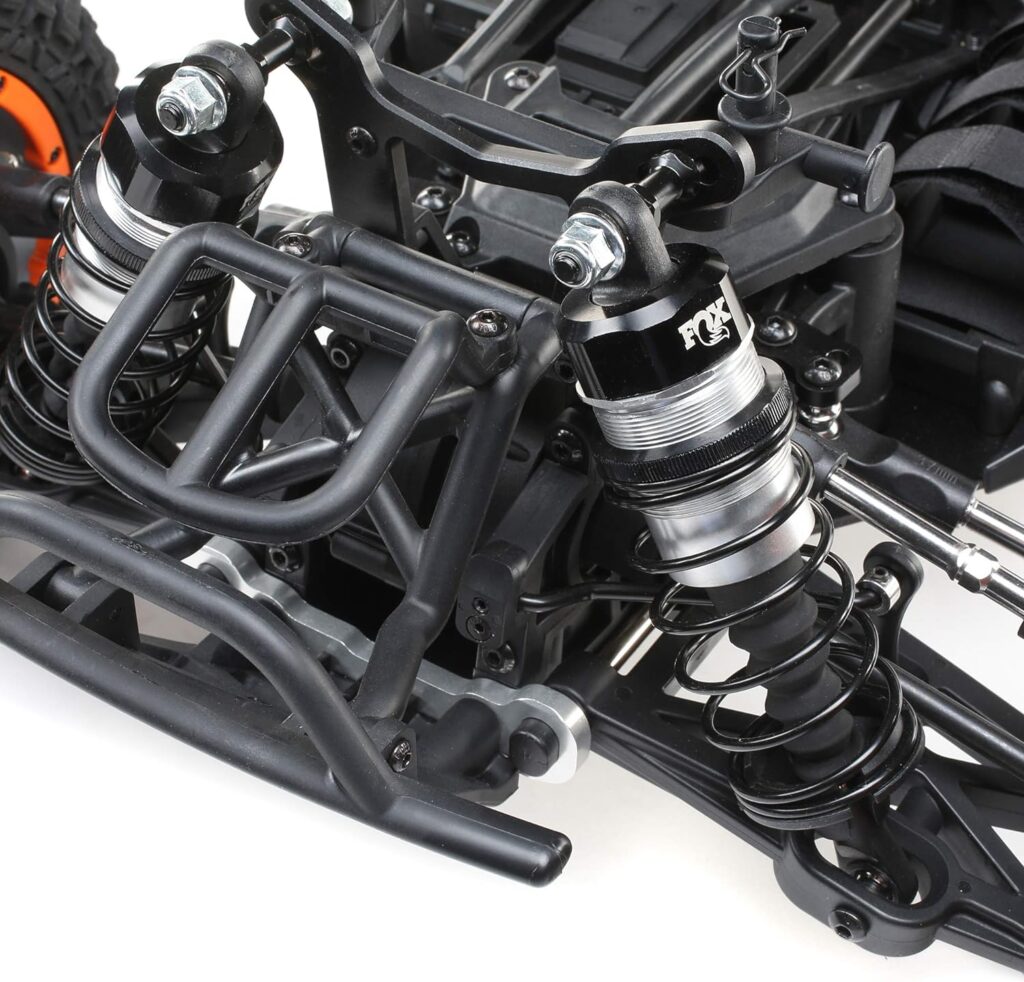
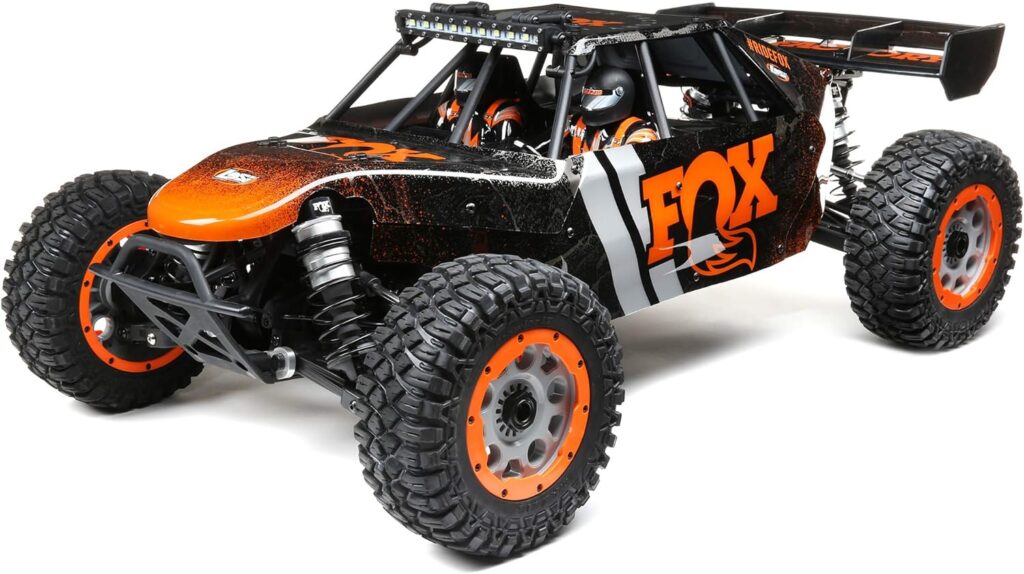
RC cars are high-performance machines that require proper maintenance and cleaning to keep them running at their best. Over time, dirt, dust and grime can build up both inside and outside the car, slowing it down and even damaging electronics and mechanical parts. Give your RC car the care it deserves by thoroughly cleaning both the interior and exterior components. In this guide, we will walk through the necessary steps to completely clean an RC car. Learn the proper techniques to safely disassemble, clean, and reassemble the car to restore performance and make it look showroom-ready again. With some basic supplies, patience, and these step-by-step instructions, you can keep your RC car in pristine condition for miles of high-speed fun.
1. Gather Cleaning Supplies
Lint-free cloth
You will need a soft lint-free cloth to wipe down the exterior and interior of the RC car. The cloth should be clean and not leave behind fibers or lint that could get caught in moving parts. Microfiber cloths work well for gently removing dust and dirt without scratching plastic or metal surfaces. Make sure you have a few fresh lint-free cloths ready before disassembling the car.
Tweezers
A pair of fine-tipped tweezers will be very useful for removing small pieces of dirt and debris from tight spaces inside the car. Look for anti-static tweezers that will not produce static electricity when handling electronic components. The tweezers should have a strong grip so you can grasp and remove stuck particles. Have the tweezers easily accessible when working inside the chassis.
Fine detail paintbrush
Get a high quality fine detail paintbrush to dust away dirt from small crevices and hard-to-reach areas. The soft bristles will flick away dust without damaging parts. Look for a brush with tapered tip bristles no larger than 0.5mm to be able to clean in minute spaces. This brush is perfect for gently cleaning axles, gear teeth and small electric parts.Compressed air canister
Invest in a can of compressed air to help blow away loose dirt and dust. The compressed air allows you to blast away debris that brushes cannot reach. Look for an air canister with a rigid extension nozzle to direct focused air into tight spaces. Make sure the air is moisture and oil free so it does not contaminate electronics. Handle the can with care.
Glue
Have plastic-compatible glue ready for any small repairs needed during reassembly. Superglue gel works well for bonding plastic parts and is less runny than liquid varieties. Check the type of plastic used for your RC car and get the appropriate glue. Place a piece of wax paper under areas being glued to avoid bonding the car to the work surface. Allow adequate drying time before running the car.
2. Disassemble the Body Shell

Remove the roof
Start disassembly by carefully removing the roof of the RC car body. Look for any screws, clips or adhesive holding the roof in place. Slowly pry up the edges of the roof, checking for snapping plastic clips as you go. If the roof is glued on, you may need to gently cut the adhesive with a hobby knife. Be careful when prying and do not bend the roof excessively to avoid cracking it. Remove any screws and set them aside in an organized manner. Lift the roof off and set it aside where it will not get scratched or damaged.
Take off the doors
With the roof detached, lay the car on its side and remove the doors. There may be small screws, pins or rubber bands holding each door in place. Carefully pry off the pins or slide out small screws using pliers or tweezers. Snip any rubber bands and discard. Slowly remove each door, taking care not to bend or warp it excessively. The hinge area is the most vulnerable. Remove all doors and set them with the roof.
Detach the wheels
Once the roof and doors are off, flip the car over and detach the wheels. Wheels usually pull straight off of the axle shafts or unscrew. Grip the center of the tire and pull firmly but gently to slide the wheel off the shaft. Be careful not to bend or break any axles. For screw-on wheels, use a compatible wrench to loosen each small setscrew and remove the wheel. Keep track of which wheels came off which axles to make reassembly easier. Set the wheels aside.
3. Clean the Internal Components

Use tweezers to remove debris
With the body disassembled, you now have access to the internal electronics and components. Use the tweezers to carefully remove any dirt, hair, sand or debris that has collected inside the chassis. Pick up and remove any large pieces first. Then inspect the tight spaces between components and grab any particles. Take your time and be very careful not to damage any delicate electronics or parts. Make sure to get into small corners and crevices.
Lightly spray boards with compressed air
After removing all the loose debris, use short bursts of compressed air to blow away dust from the circuit boards and electronic components. Hold the can upright and aim the nozzle at an angle just off the boards. Lightly spray across the boards, following the air flow direction. Do not shake or tilt the can, and keep it 6-8 inches away from electronics. The pressurized air will dislodge any remaining dust without damaging parts.
Wipe down interior walls with cloth
Use a fresh lint-free cloth to gently wipe down the plastic interior walls and chassis components. Give them a quick wipe to remove fine dust and dirt. Try to dislodge any grime built up inside seams or corners. Be very careful when wiping around any circuit boards or wiring to avoid snagging. Wipe gently in crevices to avoid catching cloth on components.
4. Clean the External Body
Wipe down the exterior with cloth
Now that the internal components are cleaned, use a fresh lint-free cloth to clean the exterior plastic body pieces. Give the roof, doors and chassis a thorough wipe down to remove built up dust and dirt from the outside. Be gentle when wiping around fragile parts like mirrors, antennas or any embellishments. Flip the pieces over and wipe down all surfaces, crevices and seams. A detail brush can help remove grime from small grooves or tight spots. Wipe in one direction to avoid grinding dirt into the plastic.
Use paintbrush to clean axles
The axles and wheel hubs will need special attention. Use the fine detail paintbrush to gently remove dirt and grease buildup from the axles and suspension parts. Rotate the axles and brush all around each one, making sure to clean the entire shaft length. Pay close attention to the gear teeth and any precision surfaces. Be extremely gentle to avoid damaging or splaying delicate plastic and metal parts.
Inspect seams and joints
Check all the seams, joints, screw holes and connections between body panels. Look for any looseness or gaps. This is the time to re-glue any problem areas before returning the shell to service. Apply a thin bead of hobby glue and firmly press the pieces together, holding for 30 seconds as it sets. Wipe away any excess. Let the glue fully cure before reassembly.
5. Reassemble

Reattach the wheels
With cleaning complete, it’s time to reassemble the RC car. Start by reattaching the wheels onto the axles. Confirm which wheel goes on each axle if you have multiple sizes. Slide the wheel straight onto the shaft or screw it on, being careful not to overtighten. Spin the wheel to ensure it rotates smoothly without wobbling or rubbing. Apply a small amount of lubricant if needed. Repeat for all four wheels.
Replace the doors
Next, replace the doors back onto their hinges one at a time. Carefully line up the hinge pins and slide them into place. Replace any small screws or rubber bands previously removed. Avoid over bending the doors and stressing the hinges. Take your time realigning any snap-in clips. Once a door is back on, give it a gentle test opening and closing to confirm smooth operation.
Attach the roof
Finally, place the roof back onto the chassis, aligning any pegs or screw holes. Press down gently and either screw it back into place or re-clip the fasteners. For glued roofs, run a fresh bead of hobby glue around the seam and hold firmly for 30 seconds as it bonds. Avoid excess glue squeeze-out. Inspect the roof line from all angles to ensure proper alignment and fit.
6. Test and Confirm Functionality
Check that electronics work
With reassembly complete, it’s critical to check that all electronics are functioning properly before the test run. Power on the RC car and listen and look for normal operation of lights, servos and motors. Check that the receiver connects properly with the transmitter and responds to controls. Move the steering and throttle stick to confirm proper servo operation. Inspect solder joints and connections for any loose wiring. Make repairs as needed if issues are found.
Carefully test steering
With the car parked, slowly test the steering by turning the front wheels fully left and right. The motion should be smooth and consistent. There should be no binding, rubbing or scraping noises. Adjust the steering trim knob on the transmitter if needed to center the servo. Verify proportional steering control for gentle turns. Listen for any clicks or pops which could indicate dirt in the gears.
Test run to confirm
The final step is a full test run outdoors. Turn on the transmitter first, then the car. Gently operate the controls, starting slowly and gradually picking up speed. Make sure the car drives straight with no pulling when at full speed. Listen for any odd sounds or feel for vibrations. Run for 5-10 minutes, cycling through forward, reverse and turns in both directions. If issues are found, make adjustments and repairs before running the car at its full capability. With a successful test run completed, the car is ready to go!
Final Thoughts
Keeping your RC car properly maintained with regular thorough cleanings can extend its lifespan by years. All those small specks of dirt and dust can accumulate over time and lead to degraded performance or even mechanical failure down the road. By methodically disassembling, cleaning, and safely reassembling the car, you can restore it to like-new condition inside and out. Proper cleaning also allows you to inspect components for damage or wear so issues can be addressed early. Follow these steps before every long run or race event, and definitely any time the car gets unusually dirty. Investing some time in a good cleaning session will pay off with a car that drives faster, turns sharper, and keeps running reliably. Your RC car depends on you, so treat it right with the cleaning skills you’ve learned today.
Enjoyed this guide of how to clean an RC car? Then be sure to check out our other RC Rating guides.