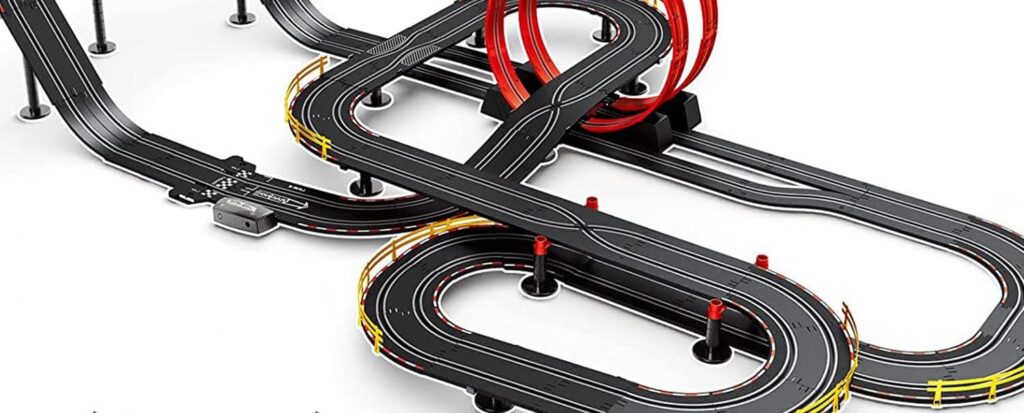
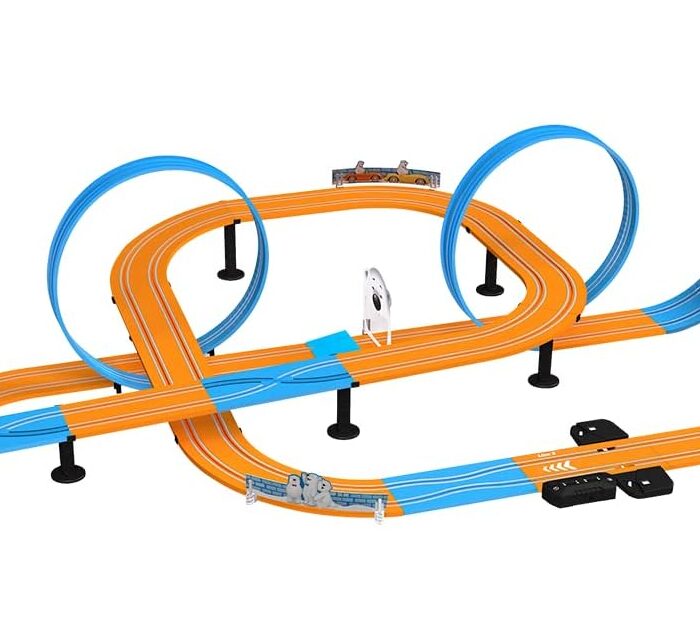
Radio-controlled (RC) cars and trucks have exploded in popularity as hobby-grade models become more advanced and affordable. Building your own custom RC track at home is a fulfilling way to enhance the RC experience. In this DIY guide, you’ll learn the end-to-end process for planning, constructing and customizing an exciting track layout for RC racing and bashing. With just basic tools and materials like wood boards, PVC pipes, paint and imagination, you can create a versatile track obstacle course right in your own yard or garage. Follow along as we cover designing track shapes, assembling components, test driving, adding challenges like ramps and jumps, and bringing it all to life with realistic trackside scenery. Whether you’re a casual RC enthusiast or seasoned driver, this tutorial will equip you to build the RC playground you’ve dreamed of.
Materials Needed
1. Wood boards
Wood boards form the basic structure and boundaries of the RC track. The type of wood to use depends on your budget and needs. Plywood is affordable but can warp over time. MDF (medium density fiberboard) has a smooth surface but is heavy. Oak or pine boards are more expensive but durable outdoor options. The width of the boards depends on the size of your track – wider boards allow for banked curves. Cut the boards to the lengths required for your track design. Prepare extra wood to allow flexibility when building.
2. Bolts and nuts
Bolts and nuts are used to assemble the wood boards when building the track walls and structures. Lag bolts provide a sturdy connection when joining wood. Choose galvanized hardware for corrosion resistance outdoors. Allow a gap between boards for bolt heads. Have an assortment of bolt lengths available for assembling track components during construction.
3. PVC pipes
PVC pipes are lightweight options for jumps, ramps and tunnels on the track. Flexible PVC tubing, in particular, allows creating smooth banked curves. For ramps, elbow joints can be used to adjust the incline angle. Cut PVC segments with saws or pipe cutters. Smooth edges are less likely to cause crashes. Consider creative ways to use PVC pieces to enhance layout.
4. Smooth surface (paint or coating)
The track surface needs to be smooth for RC tires to grip and maintain control. A layer of acrylic latex paint evens out the wood surface. For a glossy grip, enamel paint works well. Clear polyurethane or epoxy coatings provide a durable finish, especially for outdoor tracks. Multiple coats may be needed for a perfectly smooth feel. Proper surface preparation and drying between coats is essential.
5. Tools (drill, saws etc.)
Basic tools are needed to construct the track. A power drill makes quick work of inserting bolts into the wood. Circular saws or jigsaws cut boards and PVC pipes to required sizes. Sandpaper smoothens rough edges. Levels and measuring tapes aid in layout and alignment. Safety gear like gloves and goggles should be used. Having a toolkit ready saves time and frustration during the build.
Designing the Track
1. Decide on track shape
The first step in designing the track is deciding on the overall shape and layout. An oval or circuit-style shape allows continuous driving. Figure-8 tracks add variety. The amount of space available is a key factor. Large open floorplans or backyards permit sprawling layouts. Use grids and measuring tape to map out different shapes that fit the build area. Consider if you want to mimic a real-life track or create a fantasy course. Incorporate any must-have track features at this stage.
2. Draw track blueprint
After deciding on the general track layout, draw up a blueprint for reference. This helps visualize how components like straights, curves, jumps and obstacles fit together. Sketch ideas on graph paper, with each box representing a foot or inch. Use CAD software or online track planners to draw a detailed scale blueprint. Mark the positions of walls, support structures and PVC accessories. Indicate placement of bolts to connect track pieces. Blueprinting prevents costly mistakes and provides a guide for the building process. Iterate drawings till satisfied with the track design.
Preparing Materials
1. Cutting wood boards
Once the track design is finalized, cut the wood boards to the required lengths. Refer to the blueprint measurements and mark cutting lines on the boards with a pencil. Use a circular saw to make straight cuts and a jigsaw for curved sections. Set blade depth for cutting through the entire board thickness. Make small angular cuts to create boards that angle up for banked turns. Work slowly and safely, using clamps to secure boards. Make test cuts in scrap wood first to check measurements. Cut boards a little longer to allow flexibility during construction.
2. Sawing PVC pipes
Saw the PVC pipes according to the heights and lengths needed for the track accessories. Use a hacksaw or PVC cutter for straight cuts and a coping saw for tight curves. Draw cutting lines at the desired points and angles on the pipes. Clamp them in place securely. Saw slowly applying firm pressure. Twist slightly while sawing to reduce friction heating that can deform the pipe. Make angled cuts when needed for ramp inclines. Smooth cut ends with sandpaper to prevent cracking. Cut some extra PVC segments for unexpected uses during track assembly.
Constructing the Track

1. Installing wood board walls
The first step in constructing the track is installing the wood board walls that form the track boundaries. Refer frequently to the blueprint for guidance. Use the cut boards and secure them in position by drilling pilot holes and bolting together. Place bolts approximately every 12-16 inches for stability. Check boards are aligned at 90 degree angles. Leave a small gap between boards for expansion. Build any elevated sections using wood supports underneath. Complete the basic oval or circuit shape before adding accents. Having someone help align boards makes the process easier.
2. Setting up PVC pipe arches
Once the wall structure is in place, install any PVC pipe accessories like arches or ramps. Position the cut pipes according to the blueprint plan. Use elbow and T joints to combine straight and curved pieces as needed. Secure pipes in place by drilling holes through them into the wood boards below. Bolts into the track surface also prevent sliding. Place an arch at one end of a straightaway for starting lines. Build jumps and ramps following proper angles and heights. Get creative exploring possibilities with the PVC components available.
Finishing Surface
1. Sanding surface
Once the track layout and structures are built, prepare the surface for painting or coating. Use coarse grit sandpaper to smooth any rough spots or uneven joins on the wood boards. Sand curved banks and inclines to remove sharp edges. Sweep away all wood dust when complete. Consider filling gaps with wood putty for a seamless surface. Sand again lightly with fine grit sandpaper when dry. The goal is to create a perfectly smooth surface for the RC cars to run on.
2. Applying paint or coating
With the surface sanded, apply your choice of paint or clear-coat finish. For painting, use acrylic latex or enamel model track paint. Thin coats work better than one thick coat. Allow proper drying time between coats to prevent drips or sagging. Add accent colors for starting lines or other markings. For clear coating, apply polyurethane or epoxy by brushing evenly over the surface. Two to three coats are recommended for maximum protection, waiting for it to cure between each. The coating should fully seal the wood surface. Touch up any missed spots for complete coverage. Use paint/coatings designed for flexibility to avoid cracking over time.
Test Runs
1. Testing the track
Before considering the track complete, conduct test runs to identify any needed adjustments. Slowly drive RC cars or trucks around the full track to check for smooth operation and any trouble spots. Check that the controller maintains uninterrupted radio communication everywhere. Make sure the surface has ample grip without causing traction rolls. Try increasing speed gradually to test stability. Check that ramps, jumps and tunnels are sized appropriately. Repeat test runs until the track operates smoothly end-to-end. Consider having different vehicles test the track dimensions.
2. Adjusting obstacles or surface
Use the test runs to determine any obstacles or track sections in need of adjustment. Fix areas causing crashes or loss of control. Sand down or raise vertical boards that interfere with vehicles. Check bolts are flush with the surface. Adjust ramp steepness if cars bottom out or fly off. Lower jumps for smaller vehicles. Confirm tunnels accommodate your largest vehicle’s wheelbase. Address any communication deadspots or interference issues. With multiple revisions, the track will operate flawlessly for all your vehicles.
Customizing the Track
1. Adding obstacles
Half the fun of an RC track is customizing it with challenging obstacles. Vertical boards, ramps, rock piles, turntables and seesaws are fun additions. Position obstacles in different spots to vary difficulty. Create a pit area or parking garage scene. Use PVC components and wood offcuts creatively. Ensure all vehicles can clear obstacles – provide alternate routes if needed. Leave space to rearrange or add new obstacles over time as skills improve. Just take care not to overcomplicate the track and undermine drivability.
2. Making track scenery
To bring your track truly to life, add realistic scenery and backdrops. Use painted plywood or printed posters for backdrops of mountains, buildings etc. Glue down rocks, grass, dirt and vegetation to create an authentic ground surface. Add scale buildings, people and road signs as details. Fallen logs, tire stacks and construction barriers make great rural obstacles. Try incorporating water features like lakes or streams. Let your imagination run wild in designing environments your RC vehicles will love operating in.
Final Thoughts
Building your own RC track is a rewarding do-it-yourself project that lets you customize a course catered to your space, budget and driving skills. With the foundation of an oval or circuit-shaped track, you can incorporate any layout flourishes and obstacles you desire. Pay attention to safety and smooth driving operation during the design, construction and testing phases. Don’t be afraid to modify and experiment over time as your needs change. Part of the fun is evolving the track as your collection of RC vehicles grows. Regular maintenance and repairs will keep your homemade track running for years of enjoyment. We hope this guide has demystified the process of creating your dream RC track. Now grab your toolbox and use your imagination to build an epic racecourse or scale adventure zone for RC driving excitement.
Enjoyed this guide of How To Make An RC Track? Then be sure to check out our other RC Rating guides.