Radio controlled (RC) model cars have been popular hobbies for decades, allowing enthusiasts to race high performance vehicles or recreate real life cars in miniature form. One of the most exciting parts of the hobby for many RC drivers is customizing and painting the body of their car. Painting an RC body well takes preparation, patience and the right materials and techniques. Proper painting improves the look drastically while protecting the body from scratches, chips and the elements. This post will provide a step-by-step guide to properly prepare, paint and protect the body of an RC car for first-time painters.
Prepare the Body Surface
1. Clean and Sand the Body
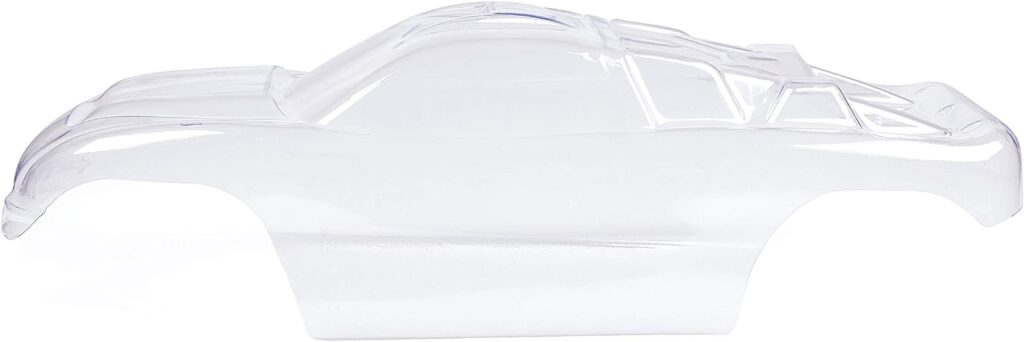
First, clean the body thoroughly with warm soapy water and a soft cloth to remove any dirt, oil or residue from the surface. Make sure to rinse away all soap residues and allow the body to dry fully overnight before moving to the next steps.
Next, lightly scuff the entire exterior of the body using 400-600 grit sandpaper. This will help the paint bond properly to the plastic surface. Be very gentle and careful not to sand through the plastic. After sanding, use a tack cloth to meticulously remove any leftover dust from the sanding process. The body surface must be completely clean and dull before applying primer.
2. Apply Primer and Sand Again
After cleaning and sanding, apply 1-2 coats of polycarbonate primer sprayed in thin, even layers over the entire body. Allow the primer coat to cure fully for at least 24 hours before handling. Once cured, use 600-800 grit sandpaper to gently smooth out the primer for an even finish. Be very careful not to apply too much pressure while sanding to avoid sanding through the primer. Clean the body again with a tack cloth to remove any leftover primer dust.
3. One Final Clean Before Paint
Give the primed body one final cleaning with warm soapy water, rinsing thoroughly to remove any residue. Allow the shell to dry fully overnight before applying paint. Now the surface should ready for the color paint of your choice. Proper preparation leads to a smooth, durable paint finish.
List of the Best RC Drift Car Bodies


Painting Techniques and Tips
1. Recommended Paint Types
There are a few recommended paint types for RC bodies – polycarbonate paints, acrylics and lacquers. Polycarbonate paints are formulated specially for plastic RC bodies and provide great adhesion and durability. Acrylic craft paints can also work well for hand painting as they adhere adequately and are easy to blend. Lacquers produce a glossy, durable finish but require proper safety precautions. Consider the type of paint and your application method when choosing your colors.
2. Painting Methods
Two common options for applying paint are airbrushing and hand painting. Airbrushing with compressed air allows you to apply thin, even coats to achieve a smooth professional finish. Multiple coats can be layered for a deep, rich color. Hand painting with small brushes works for detail work but is challenging for large areas. Mixing methods is common, airbrushing background colors then hand painting trim details.
3. Painting Tips
Avoid runs and drips in your paint by applying light coats from a consistent distance and allowing proper drying time between coats. Heavier coats are more prone to sagging and runs. Paint in a dust-free area away from wind for best results. Maintain a set spraying or brushing motion to ensure even coverage. Use masks to paint sharp separation lines or protect portions you don’t want painted.
Allowing paint to fully cure between coats prevents problems like lifting or tackiness. Check manufacturer cure times, but generally 24-48 hours is needed. Rushing between coats or inadequate curing can ruin the paint job. Proper preparation and patience is key.
Painting Design Ideas
1. Solid Colors or Multiple Colors
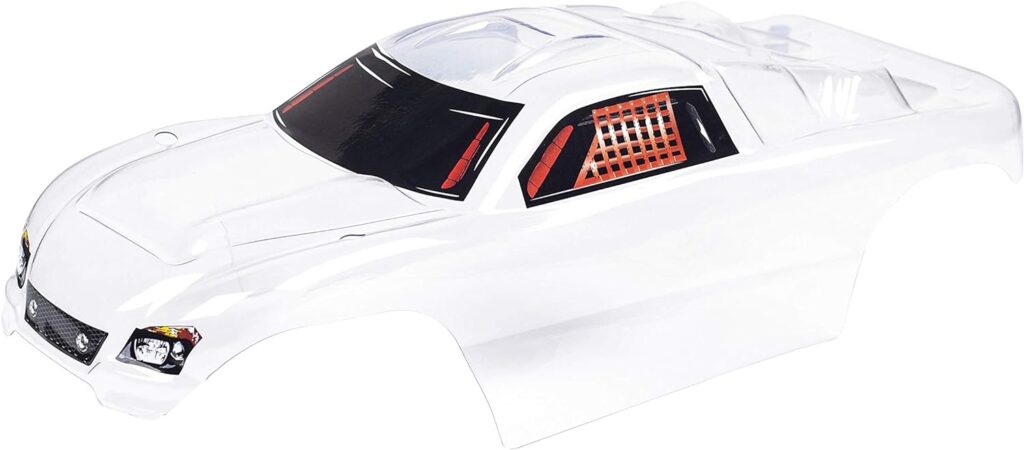
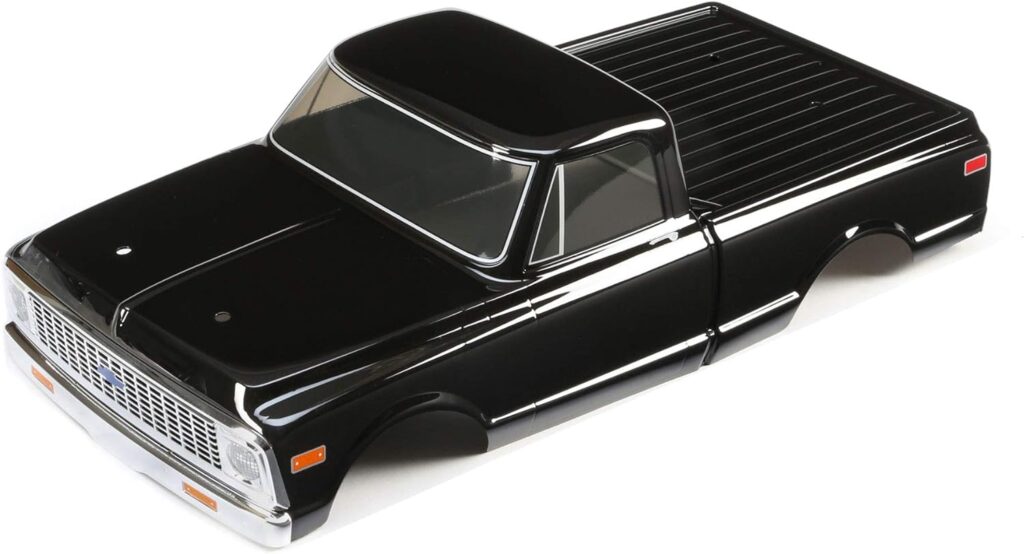
You have many options when choosing an overall paint scheme. Some prefer a realistic solid color to mimic real cars. Solid colors like red, blue, black or white can look sharp when well-executed. For a more custom look, consider a two-tone paint job blending several colors. Carefully masking the body sections allows for multiple colors like a black hood and roof with blue sides. The possibilities are endless for creative color combinations.
2. Using Decals
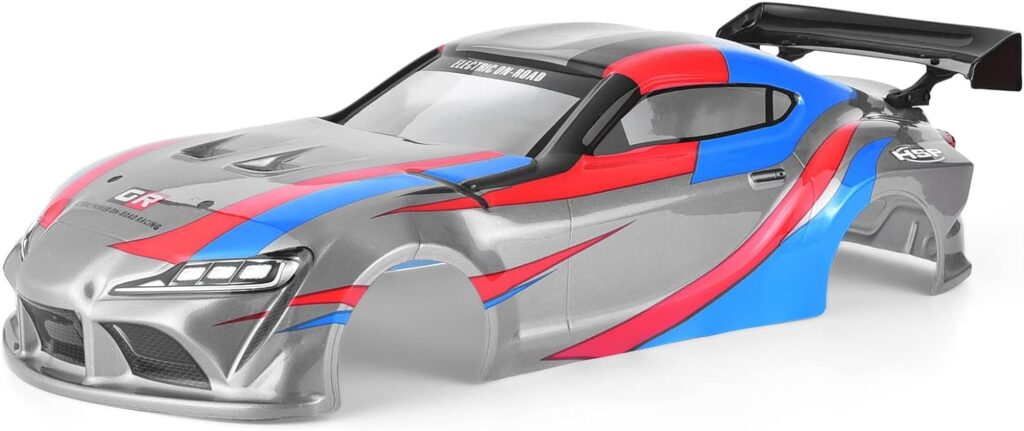
Pre-made decal sets allow you to decorate your painted body with realistic designs like racing stripes, sponsors or numbers. Custom vinyl cutting machines can create unique decals from your own designs. Decals come in many colors and finishes like chrome to stand out against your base paint. They can be used to accent solid colors or complement complex paint schemes. Careful decal placement can make your design really pop.
3. Special Effects
For a flashier appearance, consider special effects paints and techniques. Fade paint jobs start darker at the top and fade into a lighter bottom color. Flames, metal flakes and chameleon pearls create eye-catching looks. Careful airbrushing can replicate the look of chrome or carbon fiber. A gloss clear coat helps give depth and shine to special effects. The possibilities are endless for creating your own distinctive RC paint design.
Clear Coating
1. Benefits of Clear Coat
After completing the color paint job, a clear top coat is highly recommended. Quality polycarbonate clear coats protect the paint from scratches, chips, fading and fuel spills. The clear coat provides a glossy shine and seamless feel. It also allows you to buff out small imperfections. Taking the time to properly clear coat the finished paint work can extend its lifespan dramatically.
2. Applying Clear Coat
As with paint, light even coats of clear are best, applying 2-3 thin layers. This prevents drips from too much product and allows adequate drying between coats. Shake the can vigorously before spraying and keep the same distance and motion as painting. Avoid humidity, direct sunlight or dust when clear coating for best clarity.
3. Allowing to Fully Cure
It’s crucial to allow each clear coat layer to fully cure before adding another. Check the manufacturer’s recommended cure time, but generally 48-72 hours is needed before subsequent coats. Rushing clear coats can cause hazing and loss of gloss. The final coat will need 5-7 days to harden completely before any handling or assembly. Patience leads to a glassy protective finish.
Properly prepping, painting and protecting the body will allow you to run your custom painted RC car for years before needing a repaint. Take pride in a paint scheme you designed and painted yourself.
Customizing Your Paint Scheme
1. Personalizing Your Body
One of the best parts of painting your own RC body is the ability to fully customize it. Many painters start with reproducing real life cars. While this can look incredible, you can also let your imagination run wild. Use colors or designs that you find visually appealing. Paint a scheme that matches your team colors or number. Look online for inspiration but put your own creative twist on designs you like. The body is your canvas to make something unique.
2. Creating a Theme
Picking a theme is a great way to bring cohesion to custom paint jobs. Theme examples include your favorite sports team, superhero or animal. Use complementary colors and decals that match the theme. For example a shark themed body could be painted ocean blues with hand painted shark graphics. Theming your paint really makes your car stand out from the crowd.
Custom painting allows you to take a blank slate body and transform it into a moving work of art that represents your style and creativity. Don’t be afraid to try new techniques until you dial in a look that you love. Then keep refining your skills to take your paint jobs to the next level.
Caring for Your Painted Body
1. Washing and Storage
Once your custom paint job is complete, you’ll want to keep it looking its best. When washing, use mild soap and water with a soft cloth or sponge. Avoid harsh chemicals or abrasive scrubbing which can damage the paint. Rinse and dry fully after washing.
When not in use, store the painted body in a secure box or case away from sunlight, heat, and humidity which can fade and degrade the paint over time. Storing properly prevents dust buildup which can scratch the finish. Handle the body with care to avoid chips and dings.
2. Touch Up and Repairs
Even with proper care, paint jobs will pick up some battle damage through normal use. Small stone chips or scratches can be touched up with a small brush and matching paint. Larger damaged areas may need to be sanded, primed and repainted. Periodic touch ups keep your car looking great and delay the need for a full repaint.
With care and maintenance, your custom paint can last for many seasons of racing. Rewards come from creating a design you love, dialing in your techniques, and seeing your vision come to life on the track. Your imagination and skills are the only limits when painting your next RC body.
Frequently Asked Questions on How to Paint an RC Car Body
Q: What types of paint should be used on RC car bodies?
A: Polycarbonate paints formulated specifically for lexan RC bodies provide the best adhesion and durability. Acrylic craft paints can also work well for hand brushing details and are easy to blend colors. Lacquers give a glossy finish but require proper safety gear as they contain harsh solvents. Avoid standard spray paints not meant for plastics.
Q: Is priming the body necessary before painting?
A: Yes, proper prep with primer leads to far superior paint adhesion. After cleaning and sanding, 2-3 coats of polycarbonate primer sanded between coats provides a uniform base for paint to bond to. Always prime before painting.
Q: What are the different methods to apply paint?
A: Airbrushing allows you to apply thin, even coats of paint for a smooth professional look. Hand painting with small brushes gives you control for details. Many use both methods – airbrushing large areas then hand detail work. Stick with light passes instead of thick coats.
Q: How long should I wait between paint coats?
A: Follow the manufacturer’s recommendations, but generally you need 24-48 hours between each coat of paint or clear to allow proper drying time. Rushing the process risks paint lifting, bubbling, or loss of adhesion. Proper curing is crucial.
Q: Is a clear coat necessary over the painted body?
A: Clear coat is highly recommended to protect the finish from scratches, fuel spills and fading over time. 2-3 layers of quality polycarbonate clear coat add glossy shine and durability. Allow 48-72 hours of curing time per clear application.
Q: What precautions should be taken when painting?
A: Paint in a clean, dust-free space with limited airflow. Maintain a set distance and smooth motion with spray cans or airbrush. Apply light coats and avoid humidity, direct sunlight, or temperature extremes while painting. Proper preparation and environment is key.
Q: How can I care for the finished paint job?
A: Handle gently, store safely away from elements when not in use. Wash rarely with mild soap and water only when necessary. Touch up stone chips and scratches promptly to prevent degradation. Proper maintenance preserves your paint so you don’t have to repaint as often.
Final Thoughts
Painting a custom body for your RC car is incredibly rewarding. With proper preparation like cleaning, sanding and priming, you can lay down a smooth durable base for your creative paint designs. Techniques like airbrushing and masking allow you to paint complex multi-color schemes. Special effect paints and decals let you customize your car and make it stand out. A clear top coat protects your painted work of art from the elements and fuel spills. Caring for the body with gentle washing and touch-ups keeps it looking good year after year. The journey from a blank shell to a moving masterpiece allows you to imbue your identity into your creation.
Enjoyed this guide of How to Paint an RC Car Body? Then be sure to check out our other guides.